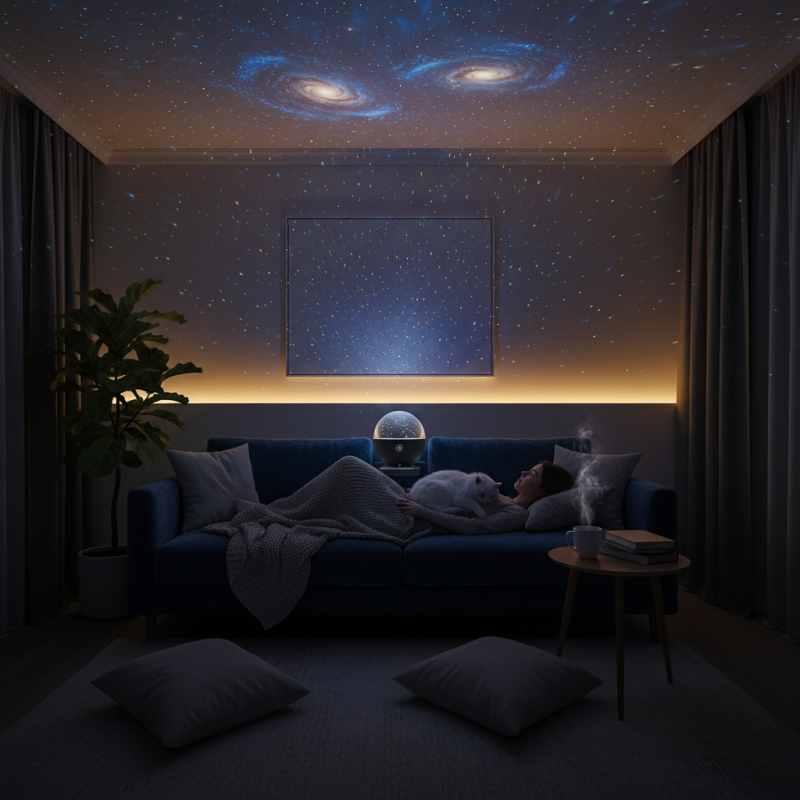
The Sky Star Projector offers a unique way to bring the night sky indoors. Imagine lying on your couch, gazing up at a galaxy of stars without leaving your home. This projector creates a mesmerizing display that can transform any space into a starry sanctuary.
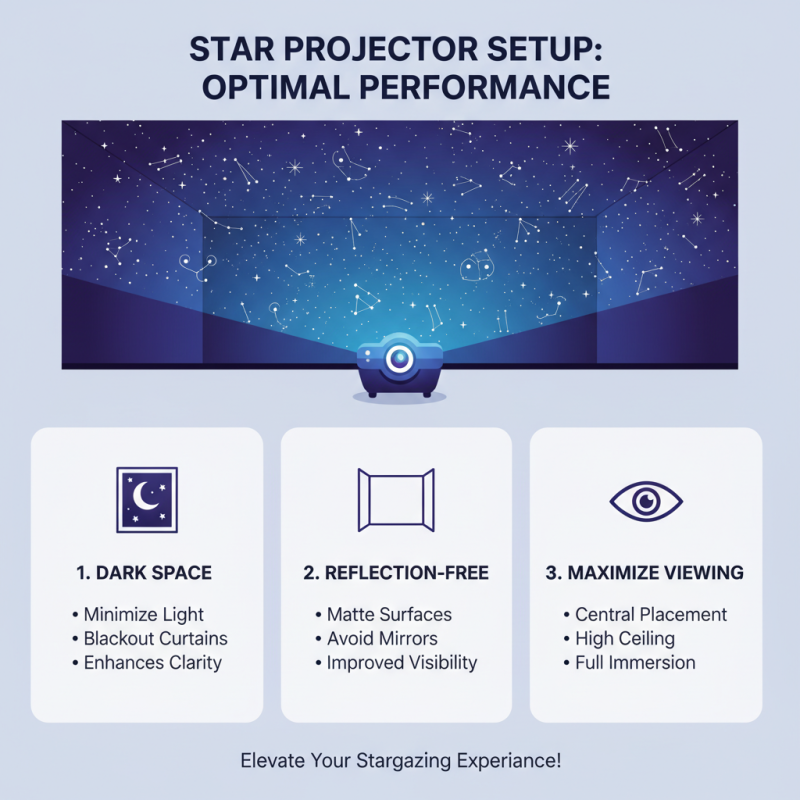
To achieve the perfect stargazing experience with your Sky Star Projector, consider the room's ambiance. Dimming the lights enhances the projection's clarity. However, sometimes the projector may not meet your expectations. The positioning matters; if placed too low or high, it may distort the effect. Take your time to adjust and find the best angle.
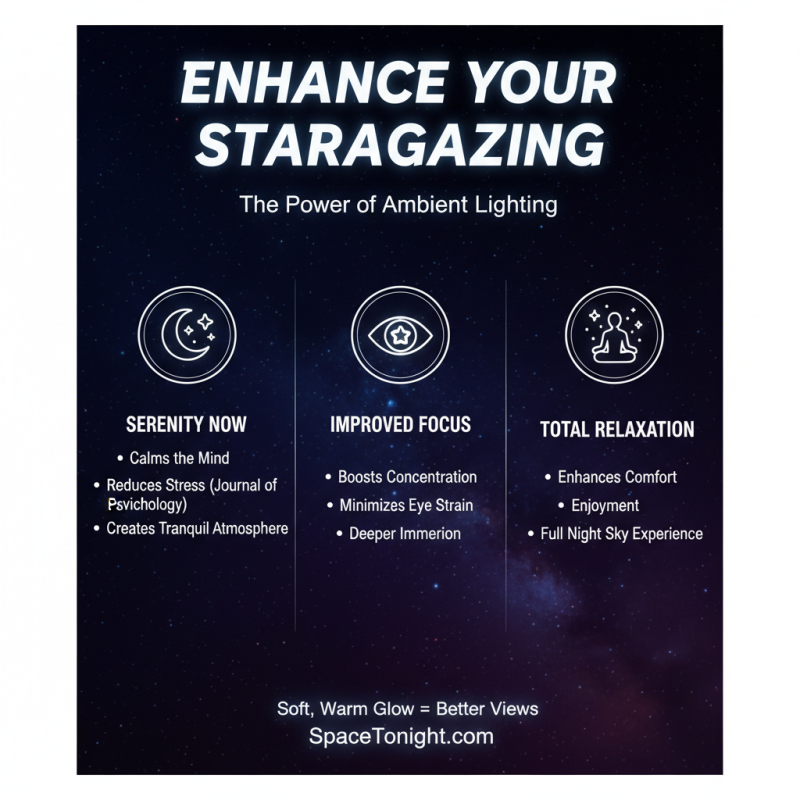
Think about how the stars inspire different feelings. Some nights may feel lonely, while others bring joy. Reflect on your mood while using the Sky Star Projector. Not every experience will be perfect, but that’s okay. Learning to embrace the imperfections can add to the overall enjoyment. Create your own stargazing ritual, encouraging relaxation and reflection.
Choosing the right sky star projector can enhance your stargazing experience significantly. A projector that casts stars across your ceiling brings the night sky indoors. Think about your space size first. A small room may not need a powerful projector. Opt for one with adjustable brightness. This feature allows you to dim the lights for a cozier atmosphere.
Consider the projection patterns as well. Some projectors show constellations, while others create abstract designs. Choose what resonates with your preferences. You might prefer realistic star fields. Or maybe swirling galaxies appeal more to you. Take the time to research different options. User reviews can be helpful but watch out for too many glowing ones. Authentic experiences can reveal flaws you hadn’t considered.
Keep in mind your budget too. A high price doesn't always mean high quality. You may find a projector that meets your needs without breaking the bank. Read specifications carefully to ensure it fits your criteria. Reflect on what you truly want from the device. A projector should inspire awe, not frustration. Think about how you’ll use it. Will it be for meditation or entertaining friends? Your answers will guide you towards making the best choice.
| Feature | Description | Ideal Use Case |
|---|---|---|
| Projection Quality | High-resolution images of the night sky with vivid colors. | Home entertainment, educational purposes. |
| Portability | Lightweight and compact design for easy transport. | Camping, travel, outdoor events. |
| Lighting Modes | Multiple color and pattern settings to choose from. | Cozy atmosphere creation, parties, relaxation. |
| Remote Control | Includes a remote for easy operation. | Children's rooms, lazy evenings. |
| Power Source | Battery-operated or USB powered. | Use in various settings without needing a plug. |
Setting up your star projector for optimal performance can elevate your stargazing experience. Begin by selecting a dark space. A room with minimal light pollution allows for the best projection. Studies show that a dark environment improves clarity. Aim for surfaces without reflections to enhance visibility. Use blackout curtains if necessary.
Tips: Adjust the distance to find the perfect focus. A few inches can make a difference. Test various angles. Sometimes, an unexpected tilt offers the most stunning views. Remember, it's not just about the equipment. Your mood and setting can affect your experience too.
While many users find joy in a smooth projection, others struggle. Some projectors may distort images based on their placement. A slight misalignment can obscure detail. Experimenting with different settings can lead to better results. Optimal performance often requires patience and repeated adjustments before achieving the desired effect.
To achieve a captivating starry night with your projector, calibration is key. Start by selecting a dark room, as ambient light can diminish the starry effects. Adjust the focus so each star appears sharp and distinct. If the stars seem blurred, take the time to tweak the settings until they sparkle vividly on your ceiling. It may require several trials to find the ideal balance.
Consider the angle of the projector. A slight tilt can dramatically change the display. Experiment with different heights and distances from the ceiling. If you notice some stars are cut off, reposition the device. The right placement will allow for a full celestial panorama. Keep in mind that perfect alignment might take patience and several adjustments.
Tips: Use a remote to change settings without disturbing the scene. Sometimes, less is more; avoid overcomplicating the setup. Simple adjustments often lead to the best results. It's important to reflect on what works and what doesn’t. Document your best settings for future sessions. Learning from past efforts enhances your stargazing experience. Each viewing is a step closer to perfection.
Stargazing can be deeply enhanced by the right ambient lighting. The right setup creates a serene environment, allowing you to fully enjoy the night sky. Reports indicate that ambient light can improve focus and relaxation, crucial for a truly immersive stargazing experience. A study from the Journal of Environmental Psychology shows that soft lighting significantly reduces stress levels, making the experience more enjoyable.
Tips for creating the ideal environment include using low-intensity lights. Consider warm-toned LED lights that mimic the glow of the moon. These can help maintain your vision as your eyes adjust to the dark. Incorporating dimmable lights offers the flexibility to adapt to your mood or the type of stargazing you’re doing.
Another aspect is to control outside light pollution. Use blackout curtains or choose remote locations to escape the city's glow. A study in Astronomy & Geophysics noted that excessive artificial light can obscure celestial objects. Thus, creating a perfect light balance not only sets the stage for stargazing but also invites a sense of wonder and tranquility. Adjusting your ambient lighting thoughtfully can turn a simple night under the stars into a memorable experience.
To ensure your Sky Star Projector lasts a long time, proper maintenance is essential. Keeping your projector clean is a priority. Dust can accumulate on the lens, reducing clarity. Use a soft microfiber cloth to gently wipe the lens and the body. This small step can significantly improve your viewing experience.
Another important aspect is storage. Store your projector in a cool, dry place away from direct sunlight. Extreme temperatures can damage internal components. If you use the projector frequently, consider a protective case. It adds a layer of security against accidental drops or scratches.
Finally, pay close attention to the power source. Regularly check the power cord for fraying or damage. Replace it if necessary. Not doing so may lead to unpredictable performance. Remember, taking care of your Sky Star Projector ensures you can enjoy beautiful stargazing experiences for years to come.
