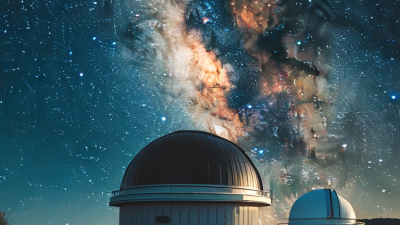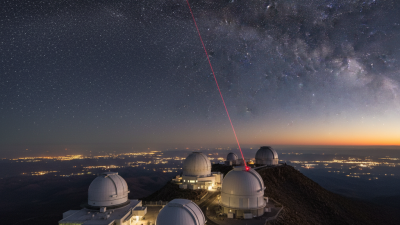
Choosing among the world’s Star Observatories is more complex than finding the darkest location on a map. Altitude, cloud cover, accessibility, equipment, and visitor services all shape the experience. A spectacular telescope means little if clouds hide the Milky Way.
The need for careful selection is growing. Falchi and colleagues reported in Science Advances that more than 80% of the global population cannot see the Milky Way naturally. Their World Atlas of Artificial Night Sky Brightness also found that over 99% of people in the United States and Europe experience light-polluted skies. These findings make genuine darkness a valuable travel feature, not a marketing phrase.
Professional astronomy organizations emphasize similar priorities. The International Astronomical Union promotes public access, scientific literacy, and responsible astronomy outreach. The International Dark-Sky Association evaluates locations through measurable darkness, community protection, and long-term conservation. Those standards offer a stronger reference than attractive photographs alone.
This guide presents seven practical tips for comparing Star Observatories worldwide. It considers viewing conditions, telescope quality, weather records, location, guided programs, safety, and environmental responsibility. Check the details carefully. Observatory websites may highlight ideal nights, while local weather data reveal seasonal limitations.
No checklist is perfect. Personal interests still matter. A beginner may value clear explanations and comfortable seating, while an experienced observer may prefer remote facilities and advanced instruments. The best observatory combines reliable science with a memorable night under a genuinely dark sky. Expect trade-offs. That is part of choosing well.
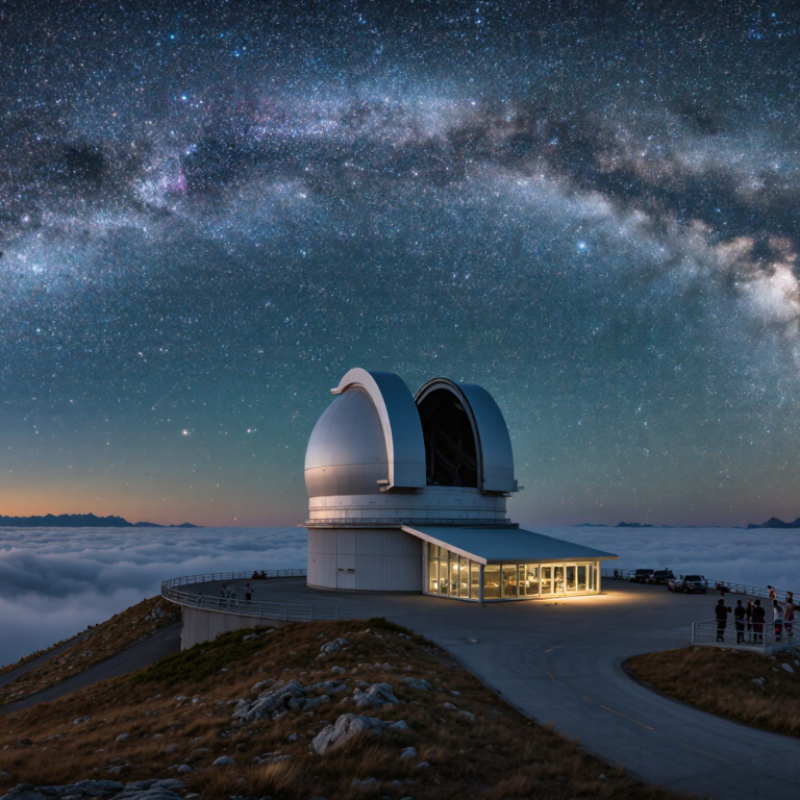
7 Tips for Choosing Star Observatories Worldwide?
Understanding the Main Types of Star Observatories
Star observatories are not all designed for the same sky. Optical observatories use mirrors or lenses to capture visible starlight. They suit visitors who want clear views of planets, star clusters, and nebulae. Radio observatories detect invisible signals from cold gas, pulsars, and distant galaxies. Their giant dishes may look less dramatic, but their science is remarkable. Infrared observatories reveal warm dust and young stars hidden behind cosmic clouds. Space-based observatories avoid atmospheric turbulence, though public access is usually limited.
Check the observatory’s main wavelength before booking. Review its altitude, because thinner air often produces sharper images. Examine local weather records, not just promotional claims. Seek places with low light pollution and stable nighttime temperatures. Confirm whether guided sessions explain calibration, tracking, and image processing. Read recent visitor reports about cloud cover, accessibility, and waiting conditions. Choose facilities that publish equipment details and scientific affiliations.
A practical visit begins with warm clothing, even during summer. I once underestimated mountain wind and spent more time rubbing my hands than studying Saturn. That mistake still affects how I plan observing trips. Moon phase also matters; a bright full Moon can wash out faint galaxies. Some observatories offer public telescopes, while others focus on research and provide only exhibitions. Ask whether photographs come from live viewing or prepared archives. The distinction is easy to miss. Reliable staff should explain it plainly.
| Tip | Observatory Type | Primary Wavelength or Method | Best For | Important Site Requirement | Main Limitation | Selection Guidance |
|---|---|---|---|---|---|---|
| 1 | Optical Observatory | Visible light, approximately 400–700 nanometres | Planets, stars, galaxies, star clusters, and visual imaging | Dark skies, low humidity, stable air, and limited artificial light | Clouds, atmospheric turbulence, and light pollution reduce image quality | Choose a high, dry, and dark location when detailed images or faint objects are the priority. |
| 2 | Radio Observatory | Radio waves, from metre to millimetre wavelengths | Pulsars, neutral hydrogen, molecular clouds, and radio galaxies | A radio-quiet zone with protection from transmitters and electronic interference | Human-made radio signals can overwhelm weak astronomical sources | Select a facility with strict radio-frequency controls if studying invisible radio emissions. |
| 3 | Infrared Observatory | Infrared radiation, longer than visible red light | Cool stars, dust clouds, planet-forming regions, and distant galaxies | High altitude, very low water vapour, and effective thermal control | Water vapour and heat from the atmosphere or equipment can create background noise | Prefer an extremely dry site or a space-based platform for sensitive infrared observations. |
| 4 | Solar Observatory | Visible, ultraviolet, and selected solar spectral bands | Sunspots, solar flares, prominences, and magnetic activity | Clear daytime conditions, accurate tracking, and certified solar filters | Direct solar viewing is hazardous without purpose-built protection | Choose this type for daytime research, and verify that every viewing system uses approved filters. |
| 5 | Ultraviolet Observatory | Ultraviolet radiation, shorter than visible violet light | Hot stars, active galactic nuclei, stellar atmospheres, and ionized gas | High altitude or space, because much ultraviolet radiation is absorbed by Earth’s atmosphere | Many ultraviolet wavelengths cannot be observed effectively from the ground | Use a space-based observatory when the research depends on ultraviolet wavelengths blocked by the atmosphere. |
| 6 | X-Ray or Gamma-Ray Observatory | High-energy electromagnetic radiation | Black holes, neutron stars, supernova remnants, and energetic cosmic events | Space-based operation, since Earth’s atmosphere absorbs most X-rays and gamma rays | Ground-based facilities cannot directly collect most incoming high-energy radiation | Choose an orbital or satellite data source for research involving extreme cosmic environments. |
| 7 | Interferometric Observatory | Combined signals from multiple separated telescopes | Fine details in stellar surfaces, compact radio sources, and precise measurements | Precisely synchronized instruments, stable timing, and accurate calibration | Data processing is complex and the field of view can be narrower than that of a single telescope | Select this method when angular resolution is more important than simple operation or wide-area imaging. |
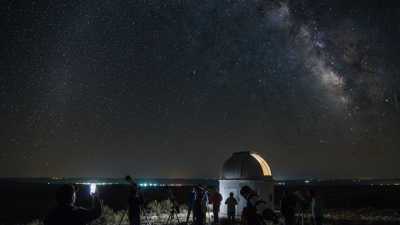
Choosing a star observatory begins with geography, not impressive architecture. Latitude determines which constellations rise above the horizon. Elevation often reduces atmospheric haze and improves visibility. However, high ground can bring strong winds, cold temperatures, and difficult access. I once favored a mountain site and underestimated gusts. My telescope shook during long exposures. That mistake still influences how I compare locations.
Climate deserves careful investigation. Examine several years of rainfall, cloud cover, humidity, and wind records. A dry season is not always reliable. Clouds may form after sunset, while moisture can blur faint galaxies. Atmospheric transparency affects clarity, and seeing affects sharpness. They are different measurements. Check hourly forecasts, dew point, wind speed, and cloud layers before traveling. Allow extra nights when possible. Weather changes quickly.
Night-sky quality should be measured, not guessed. Use calibrated light-pollution maps, then inspect nearby roads, buildings, and security lights. A moonless night helps, but darkness alone cannot guarantee detailed views. Look for a low horizon and limited glare. Stable air matters too. Ask the observatory for recent sky readings, not only old promotional claims. Visit near the new moon, while checking the exact period of astronomical twilight. Keep a simple observation log. It may reveal that the site looked perfect online, yet felt less dependable in practice.
7 Tips for Choosing Star Observatories Worldwide
Comparing Telescopes, Instruments, and Research Facilities
A strong observatory begins with its location. Check light pollution, atmospheric turbulence, altitude, and average cloud cover. Dark skies alone do not guarantee sharp images. A dry site may still suffer from unstable air, known as poor seeing. Review long-term weather records instead of trusting travel descriptions.
Compare telescope aperture, optical design, and tracking accuracy. Larger mirrors collect more light, but precision control often matters more for faint targets. Ask whether the facility offers imaging cameras, infrared sensors, spectrographs, or radio receivers. Each instrument reveals different evidence from the sky. For example, a spectrograph can show stellar motion through tiny changes in wavelength. The details matter.
Look closely at the research facility itself. Reliable observatories publish technical specifications, instrument manuals, observing schedules, and archived data. Check calibration methods and how quickly data become available. A beautiful visitor center is not proof of scientific quality. Neither is an impressive telescope dome.
Think about access. Can trained users request observing time? Are remote observations supported? Is technical assistance available during equipment failures? These practical points often shape the final result. A modest telescope with excellent support may outperform a larger, poorly maintained system.
I would also compare maintenance records and independent publications. Promotional claims can sound convincing. They are not measurements. My own preference may lean toward larger instruments, but that bias needs checking. Bigger is not always better. Sometimes the smaller facility provides cleaner data, clearer documentation, and more usable research time. Expect compromises. That is normal.
Visitor access should be checked before judging a telescope or mountain setting. Look for clear opening hours, reservation rules, transport details, and wheelchair access. Remote sites may require a long drive after sunset. The World Health Organization’s Global Status Report on Road Safety 2023 records about 1.19 million road deaths annually, so safe transfers matter. Ask whether roads are illuminated, weather-monitored, and supported by trained staff. A beautiful location is not automatically a safe one.
Educational quality deserves equal attention. Confirm whether guides explain light pollution, stellar life cycles, and local sky conditions in plain language. Public lectures, school sessions, and accessible exhibits show stronger outreach than a short viewing session. A 2024 astronomy-outreach survey by the International Astronomical Union reported broad demand for public astronomy activities, especially programs adapted for young people and underserved communities. Numbers vary by region, but the message is practical: learning should not depend on prior knowledge. Request program schedules, language options, and evidence of educator training.
Inspect the night experience, too. The World Atlas of Artificial Night Sky Brightness found that more than 80% of people live beneath light-polluted skies. Ask how the observatory protects dark conditions without creating hazardous walkways. Red lighting, marked paths, hearing assistance, and warm indoor areas can help. I would not trust impressive photographs alone. They may hide steep steps, crowded platforms, or cancelled sessions. Check recent visitor reviews, emergency procedures, and weather policies before paying.
7 Tips for Choosing Star Observatories Worldwide
Balancing Costs, Travel Needs, and Observation Goals
Choose the observatory for your target, not its postcard appeal. Planetary imaging needs stable air, while deep-sky work demands darker skies. Check altitude, humidity, cloud cover, and moonlight before booking. The New World Atlas of Artificial Night Sky Brightness found that more than 80% of people live under light-polluted skies. A remote site can therefore justify higher transport costs.
Calculate the complete journey. Include flights, ground transfers, meals, permits, equipment insurance, and lost workdays. The International Air Transport Association reported that global passenger demand rose 10.4% in 2024, increasing pressure on popular routes. Travel midweek or outside school holidays when possible. Tip 3: compare three seasons. A cheaper rainy season may produce fewer usable nights. Tip 4: confirm local weather records, not promotional averages. Tip 5: match the telescope’s aperture and camera access to your skills. A powerful instrument is wasted without technical support.
Ask about cancellation rules, backup dates, emergency access, and electricity stability. Tip 6: protect your schedule. Tip 7: preserve your eyes and sleep. Red lights, warm layers, and a quiet room matter after midnight. The 2024 UN Tourism World Tourism Barometer reported international arrivals reached 96% of 2019 levels during January to July, so popular destinations may fill quickly. I still find budget forecasts imperfect. Exchange rates shift, clouds ignore calendars, and a “perfect” site can disappoint. Leave room for uncertainty.
Balancing altitude, travel effort, budget, and observation goals
Higher sites generally offer drier, steadier air and darker skies, which can benefit deep-sky photography and planetary observation. However, remote locations often require longer transfers and higher travel costs. For a shorter, more accessible trip, consider sites near established towns or airports; for demanding astrophotography, prioritize altitude, low humidity, and minimal light pollution.
Elevations are published site elevations. Road-transfer times are approximate planning estimates from the nearest commonly used airport or access town and can vary with weather, road conditions, and visitor restrictions.