2026 Best Observatory Stars for Astronomy Buyers
Choosing the 2026 best Observatory Stars begins with a clear question: what will you observe, and from where? A dark rural site and a suburban garden demand different plans. So do visual observing, astrophotography, and public education. Buyers should compare aperture, mount stability, tracking, and setup time—not just impressive magnification claims. The night sky is the real test.
Astronomer and science communicator Carl Sagan offered a fitting reminder: “Somewhere, something incredible is waiting to be known.” That spirit suits Observatory Stars, but good equipment choices still require careful checking. Review manufacturer specifications, independent test reports, warranty terms, and return policies. Match each feature to your observing goals. A heavy mount may perform well yet remain frustrating if one person must carry it across a lawn. Small details matter.
Start with your conditions. Check sky brightness, storage space, power access, and how often you will travel with the equipment. Compare optical quality and mount performance together; neither works in isolation. For imaging, confirm tracking compatibility and accessory requirements before buying. For shared observatories, prioritize durability and straightforward controls. Ask experienced local observers what performs reliably in similar weather. Their advice can expose blind spots in a polished product page. I would still leave room for doubt: specifications rarely reveal how a system feels on a cold, breezy night. The sections ahead help buyers weigh those trade-offs, spot unsupported promises, and choose equipment that earns its place under the stars.
Understanding Observatory-Grade Telescopes and Their Uses in 2026
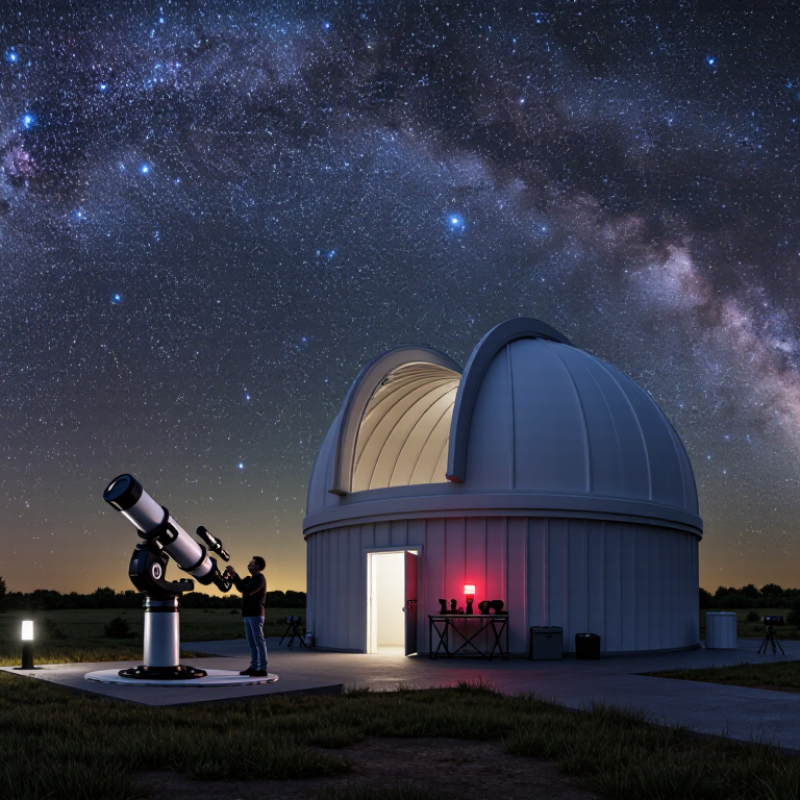
In 2026, an observatory-grade telescope is best understood as a complete observing system, not simply a large tube. Its aperture gathers light, while a rigid mount, accurate tracking, and stable optics help keep faint details clear. A 250-mm reflector can show globular clusters and nebular structure from a fixed site, if local conditions cooperate. The sky decides.
Choose equipment for the work you plan to do. Visual observers often value comfortable eyepiece access and quick setup. Astrophotographers need precise tracking, dependable focusing, and enough mount capacity for the camera and accessories. For either use, check how easily the optics can be collimated and whether the building shields the telescope from heat. Warm air escaping a roof can blur stars, even with excellent glass. Bigger is not always better.
Tips: Compare tracking accuracy, mount capacity, and service access before aperture alone. Let mirrors or lenses reach outdoor temperature, then test on a steady star. Seeing varies. A disappointing night may reflect the atmosphere, not faulty equipment.
2026 Best Observatory Stars for Astronomy Buyers: Observatory-Grade Telescopes and Their Uses
How to read this chart: Larger apertures collect more light, supporting observations of fainter objects and finer detail under suitable conditions. Values show ideal geometric light-collecting area relative to a 7 mm pupil, calculated from aperture area; real performance also depends on optical design, obstructions, atmospheric conditions, and detector sensitivity. The listed uses are illustrative, not strict limits.
Key Features to Compare When Choosing an Observatory Telescope
When comparing observatory telescopes, start with aperture, but do not let it decide everything. A wider mirror or lens can reveal fainter detail, yet it also needs a sturdy mount and careful thermal adjustment. In a dome, a heavy instrument may fit poorly or take longer to settle after the roof opens. Check the mount’s tracking accuracy, payload capacity, and compatibility with visual observing or imaging. Small vibrations matter when a star crosses a high-power eyepiece.
Optical quality and focal length shape what you can actually observe. A shorter focal length gives a broader view of star fields; a longer one helps with small planets and distant galaxies. Try to compare sample views under similar sky conditions, since local seeing can soften even excellent optics. It is easy to overvalue a specification on paper. I would also inspect focus controls, cable routing, and access to maintenance points before choosing. On a cold, damp night, awkward controls become more than a minor annoyance. Consider the observatory’s floor space, power supply, ventilation, and protection from dust and moisture. A telescope that is simple to align and maintain may earn more observing time than a larger, more demanding setup. That trade-off is easy to miss.
2026 Best Observatory Stars for Astronomy Buyers - Key Features to Compare When Choosing an Observatory Telescope
| Telescope Configuration |
Aperture |
Typical Focal Length |
Typical Focal Ratio |
Optical Design |
Common Mount Pairing |
Theoretical Dawes Limit |
Best-Suited Observing |
Key Considerations |
| 80 mm ED refractor |
80 mm |
480–600 mm |
f/6–f/7.5 |
Refractor with extra-low-dispersion glass |
Stable alt-azimuth or equatorial mount |
About 1.45 arcseconds |
Wide star fields, open clusters, the Moon, and brighter planets |
Compact and generally quick to set up; its smaller aperture shows less detail in faint deep-sky objects than larger telescopes. |
| 130 mm Newtonian reflector |
130 mm |
650–900 mm |
f/5–f/7 |
Newtonian reflector with a parabolic primary mirror |
Dobsonian, alt-azimuth, or equatorial mount |
About 0.89 arcseconds |
The Moon, planets, double stars, and brighter nebulae and galaxies |
Offers relatively generous aperture for its size; the optical alignment may need occasional checking, especially after transport. |
| 150 mm Maksutov-Cassegrain |
150 mm |
1,800–2,250 mm |
f/12–f/15 |
Catadioptric design with a corrector plate and folded optical path |
Equatorial or sturdy alt-azimuth mount |
About 0.77 arcseconds |
Lunar and planetary observing, close double stars, and compact targets |
Long focal length supports high magnification with suitable eyepieces; the narrow field is less convenient for very large objects, and the optics can require cooldown time. |
| 200 mm Schmidt-Cassegrain |
200 mm |
About 2,000–2,032 mm |
About f/10 |
Catadioptric design with a corrector plate and folded optical path |
Equatorial or computerized alt-azimuth mount |
About 0.58 arcseconds |
Planets, the Moon, double stars, and a broad range of deep-sky objects |
Compact for its aperture and versatile; a long native focal length can limit the true field of view, and a suitably rated mount is important. |
| 250 mm Dobsonian Newtonian |
250 mm |
1,200–1,500 mm |
f/4.8–f/6 |
Newtonian reflector on a manually operated or computerized Dobsonian mount |
Dobsonian alt-azimuth mount |
About 0.46 arcseconds |
Faint galaxies and nebulae under dark skies, as well as the Moon and planets |
Large aperture gathers substantially more light than smaller configurations; the tube and base need more storage and transport space, and collimation should be checked periodically. |
Figures are representative ranges for common configurations, not specifications for a particular product. The Dawes limit is an idealized theoretical resolution estimate calculated as approximately 116 divided by aperture in millimetres, expressed in arcseconds; atmospheric seeing, optical quality, alignment, and observing conditions affect actual performance.
Top Observatory Telescope Types for Different Astronomy Goals
Choosing an observatory telescope starts with the target, not the largest aperture.
For the Moon, planets, and double stars, a long-focal-length refractor or Maksutov-Cassegrain can deliver sharp, high-contrast views. A steady mount matters: Saturn should remain centered while you inspect its rings. Small details need patience.
For galaxies and nebulae, a Newtonian reflector offers substantial aperture for the cost, while a shorter focal length captures wider fields. But aperture cannot erase city glow. Falchi and colleagues’ 2016 World Atlas of Artificial Night Sky Brightness, published in Science, estimated that more than 80% of people worldwide live beneath light-polluted skies. Dark skies matter. A suburban observatory may benefit more from narrowband filters and careful target selection than from a bigger mirror.
For astrophotography, match the optics to the camera and tracking mount. A short, wide-field refractor is forgiving for large nebulae; a longer-focal-length telescope magnifies small galaxies, but also magnifies tracking errors. That trade-off is easy to underestimate. NASA’s Exoplanet Archive passed 5,000 confirmed exoplanets in 2022, yet those discoveries were not made by simply pointing a backyard telescope at a star. For visual observing, choose a design suited to what you can actually see, and check that the observatory can support its weight, alignment, and maintenance. I would still leave room for personal preference: specifications do not tell you which view will keep you coming back.
Essential Mounts, Cameras, and Accessories for Observatory Setups
A dependable observatory begins with a mount matched to the complete imaging load, not just the telescope. Include the camera, guide equipment, finder, and cables when estimating weight. Leave headroom. A sturdy pier and careful polar alignment reduce vibration and tracking errors. Yet no mount removes every problem; wind and uneven balance can still spoil a long exposure.
Choose a camera for the targets and conditions you actually observe. A cooled sensor can limit thermal noise during extended sessions, while sensor size affects framing and data storage. Check pixel scale against the telescope’s focal length and typical seeing. Keep it simple. Take dark and flat calibration frames, and inspect them before collecting hours of data. I have seen tidy plans overlook a stubborn dust spot.
Useful accessories include a guide camera, dew control, reliable power supplies, and weather monitoring. Route cables with enough slack for the mount to move, but secure them against snags. A small temperature or humidity sensor can warn when conditions are changing; it cannot predict every surprise. Test the entire system on a clear night before relying on automation. Expect small frustrations. A connector may loosen, or a focus position may shift with temperature, so leave time for checks and adjustments.
Budgeting, Installation, and Maintenance for Long-Term Use
Budgeting for a backyard observatory means looking beyond the telescope. Include the mount, weather protection, electrical work, storage, and delivery in your estimate. A sturdy mount can matter more than a larger optical tube on a windy site. Set aside extra funds for unexpected ground preparation or replacement parts. Small details matter. Compare equipment by weight, serviceability, and compatibility, not only by magnification claims.
Installation starts with a stable, level base and a clear view of the sky. Check trees, nearby lights, drainage, and access before choosing a location. A concrete pier may reduce vibration, but local soil and frost conditions affect the design. Ask a qualified professional about structural and electrical work. Keep cables secured and leave enough room to move safely around the equipment. Weather wins. Even a well-planned enclosure can trap moisture if ventilation is poor.
Long-term use depends on modest, regular maintenance. Inspect fasteners, seals, cable connections, and moving parts every few months. Keep a simple log of alignment checks, repairs, and unusual condensation. Clean optical surfaces only when needed, using suitable materials and gentle methods; frequent wiping can cause damage. I would not assume that a costly setup stays accurate by itself. Small alignment errors can creep in, and some fixes take longer than expected. Check the manufacturer’s technical guidance for model-specific care.